Chef’s Complete Guide
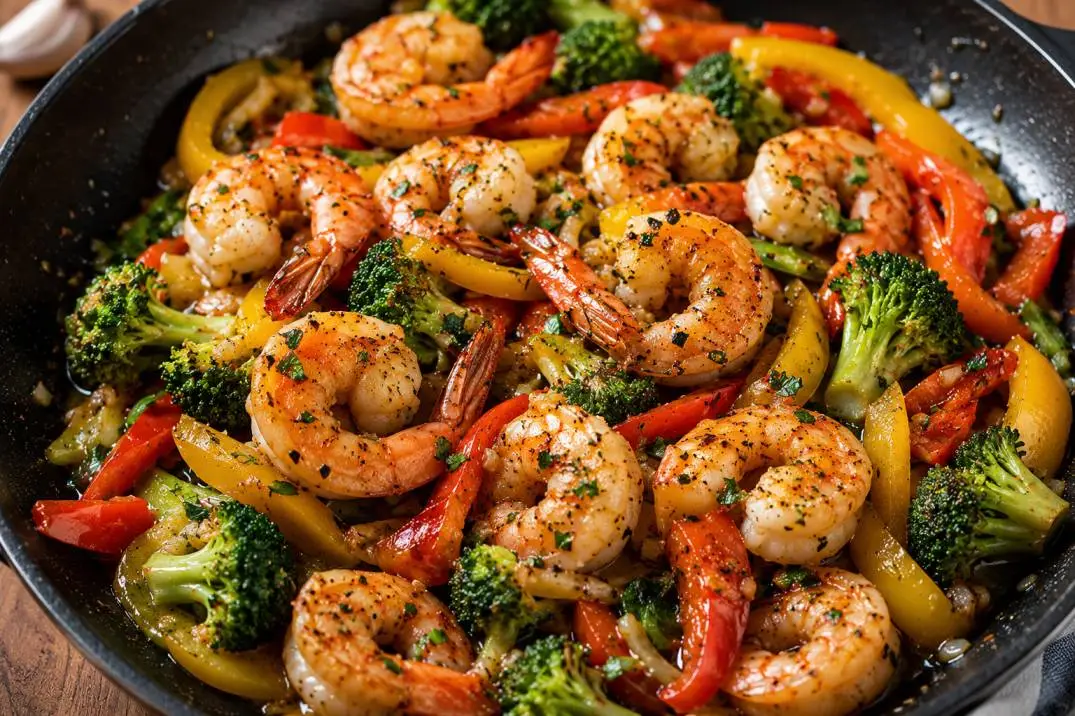
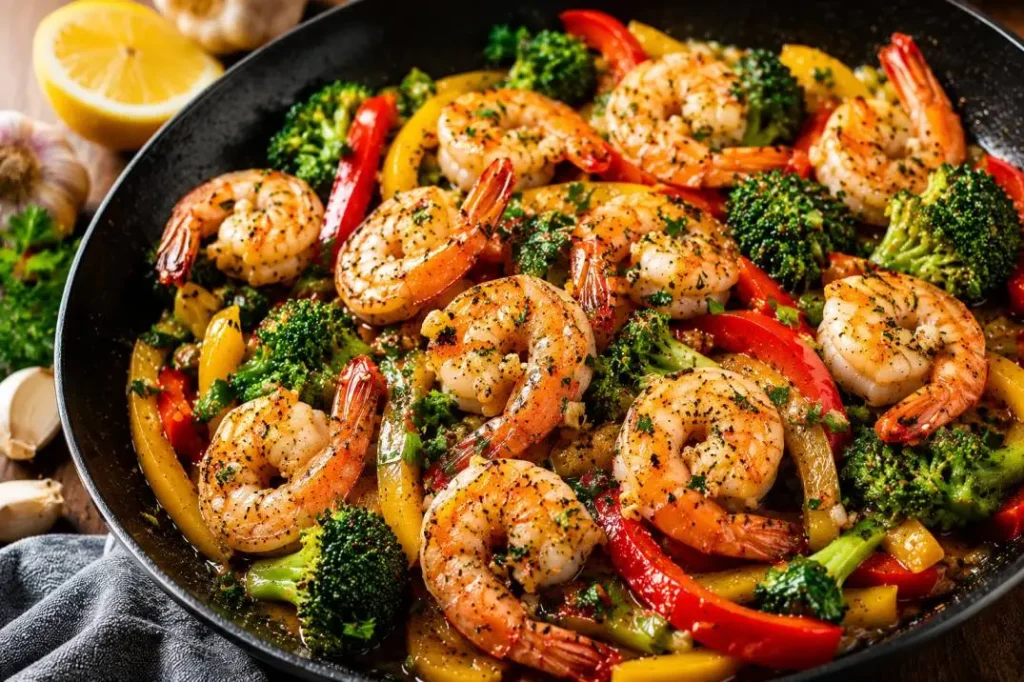
Garlic Butter Shrimp Stir-Fry
A restaurant-quality dish mastered at home — blistered shrimp, caramelized garlic, and a glossy butter sauce ready in under 20 minutes.
Prep10 min Cook8 min Serves2–3 DifficultyEasy
Ingredients
500 glarge raw shrimp, peeled & deveined
8 clovesgarlic, finely minced
60 gcold unsalted butter, cubed
2 tbspneutral oil (vegetable or avocado)
2 tbspdry white wine or chicken stock
1 tbspfresh lemon juice
½ tspred chili flakes (optional)
handfulfresh parsley, roughly chopped
to tastefine sea salt & black pepper
1 tspcornstarch (for velveting)
Step-by-step method
1
Velvet the shrimp
Pat the shrimp completely dry with paper towels — moisture is the enemy of a good sear. Let them sit uncovered for 5 minutes. This Chinese “velveting” technique creates a thin starchy coat that protects the shrimp from overcooking and gives the sauce something to cling to.
👨🍳 Chef’s note: Dry shrimp sear — wet shrimp steam. This single step is the difference between a restaurant result and a home-cook result.
2
Get the wok ripping hot
Place your wok or heaviest skillet over the highest flame you have. Let it heat for 2 full minutes until it just begins to smoke. Add the neutral oil and swirl to coat. You should see the oil shimmer and ripple immediately. This is “wok hei” — the breath of the wok — and it cannot be rushed.
👨🍳 Chef’s note: A cast-iron skillet holds heat better than a thin pan. If your wok is thin, preheat it 30 seconds longer. A cold pan turns this dish into a sad, grey shrimp boil.
3
Sear the shrimp in batches
Add the shrimp in a single layer — do NOT crowd the pan. If your pan can’t fit them without overlapping, work in two batches. Sear undisturbed for exactly 60–75 seconds until a deep golden crust forms on one side. Flip each shrimp and cook 30 seconds more. They should be barely opaque in the centre. Remove immediately to a plate. They will finish cooking in the sauce.
👨🍳 Chef’s note: Overcooked shrimp are rubbery and dry. Pull them before you think they’re done — carryover heat does the rest.
4
Build the garlic base
Reduce the heat to medium-high. Add the minced garlic and chili flakes in one go. Stir constantly for 30–45 seconds. You are aiming for golden and fragrant, not brown and bitter. The garlic will continue to cook once the liquid goes in, so pull it from the fire the moment it turns the colour of pale honey.
5
Deglaze and build the sauce
Immediately pour in the white wine or stock. It will hiss violently — that is exactly what you want. Scrape up any caramelized bits from the bottom of the pan with a wooden spoon. Those are flavour. Let the liquid reduce by half, about 60 seconds. Add the lemon juice and stir to combine. The base of your sauce is now ready.
👨🍳 Chef’s note: Use a dry white wine with no oak — Sauvignon Blanc or Pinot Grigio work perfectly. If using stock, add a small pinch of sugar to balance the acidity.
6
Mount the butter
Turn the heat to its lowest setting. Add the cold butter cubes, two or three at a time, swirling the pan constantly. Do NOT stir with a spoon — swirl. This technique, called “mounting” or monter au beurre, emulsifies the cold butter into the sauce, creating a glossy, velvety, restaurant-style consistency. If the pan gets too hot, the sauce will “break” and become greasy. If that happens, pull the pan off the heat and add a splash of cold water while swirling.
👨🍳 Chef’s note: Cold butter is non-negotiable. Room-temperature butter does not emulsify — it just melts and pools.
7
Return the shrimp, finish and plate
Return the seared shrimp to the pan and toss gently to coat in the sauce for 30 seconds — just enough to reheat them without overcooking. Taste the sauce and adjust salt. Scatter the fresh parsley over the top and serve immediately. The dish waits for no one; the sauce will begin to separate if left standing.
Expert chef tips
Shrimp size matters
Use 16/20 count (large) or 13/15 (jumbo) shrimp. Smaller shrimp overcook in the time it takes to get a crust. Buy raw, shell-on if possible and peel yourself — pre-peeled shrimp lose flavour and hold too much moisture.
Mise en place is everything
This dish cooks in under 10 minutes. Once you start, there is no time to chop garlic or measure butter. Have every single ingredient prepped, measured, and within arm’s reach before you turn on the heat.
The smell test for garlic
Burnt garlic is irreversible — it turns the entire dish bitter. Watch colour AND smell: when garlic smells sweet and nutty, it’s ready. When it smells sharp or acrid, you’ve gone too far. When in doubt, deglaze earlier.
Save your pasta water
If serving over pasta, reserve a cup of starchy pasta cooking water. Adding a splash when tossing the pasta through the sauce creates a silkier, more cohesive coating than sauce alone — a trick from every professional Italian kitchen.
Variations to try next
Asian
Swap butter for sesame oil, wine for Shaoxing rice wine, and add a tablespoon of oyster sauce and a teaspoon of grated fresh ginger. Finish with sliced spring onions.
Creamy
After the butter sauce is built, pour in 80 ml of heavy cream. Reduce until the sauce coats a spoon. Fold in freshly grated Parmesan and serve over tagliatelle.
Spicy
Double the chili flakes and add a tablespoon of Calabrian chili paste or harissa with the garlic. Finish with smoked paprika and a spoonful of honey to balance the heat.
Here’s your complete chef-level guide to Garlic Butter Shrimp Stir-Fry — every technique explained with the why behind it, not just the what.
A few things worth emphasizing from a professional standpoint:
The three non-negotiables are dry shrimp (no sear without it), a screaming-hot pan (wok hei or nothing), and cold butter for the sauce (emulsification, not melted grease). Master those three points and this dish becomes effortless every time.